How To Tie a Bracelet Knot?
Tying a bracelet knot is the process of creating a secure closure for bracelets using various knotting techniques. This involves manipulating cords or strings to form knots such as the overhand knot, square knot or slip knot allowing individuals to craft personalized and stylish bracelets.
Embark on a journey of creativity and personal expression as we delve into the art of, How to Tie a Bracelet Knot? Unravel the secrets behind crafting stylish and meaningful bracelets where each knot becomes a unique statement of your individuality. Whether you’re a beginner or a seasoned artisan join us in discovering the simple yet enchanting techniques that transform ordinary strings into wearable works of art.
entails utilizing various knotting methods to securely fasten bracelets. Through the manipulation of cords or strings individuals fashion closures such as the overhand knot, square knot or slip knot. This technique enables personalization of bracelets infusing them with creativity and individual style.
Types of Bracelet Knots
There are several types of knots commonly used for crafting bracelets each contributing to the overall design and functionality. Here are a few popular ones:
Overhand Knot
Simple and basic knot formed by passing one end of a cord over and under itself.
Often used as a starting point for more complex knots.
Square Knot (Reef Knot)
Created by intertwining two cords forming a symmetrical knot.
Commonly used in macramé and for creating flat wide bracelets.
Slip Knot
Adjustable knot that forms a loop allowing the bracelet knot to be resized.
Ideal for bracelets with sliding closures or those meant to fit various wrist sizes.
Clove Hitch
A secure and sturdy knot used for beginning or ending certain bracelet knot designs.
Forms a crossed structure resembling an ‘X.’
Fisherman’s Knot
Strong and reliable knot used for joining two ends of cords together.
Ensures a secure connection suitable for thicker bracelet knot designs.
Lark’s Head Knot
Simple loop knot created by folding a cord in half and passing the loop through another.
Used for attaching cords to a central point often in the creation of multi strand bracelets.
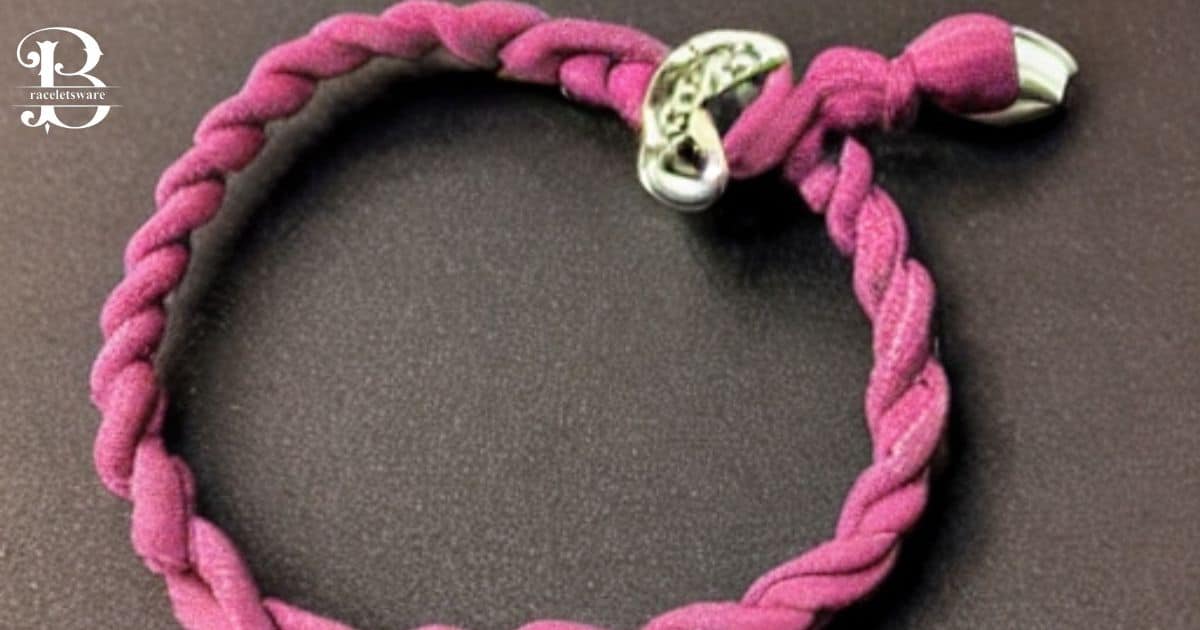
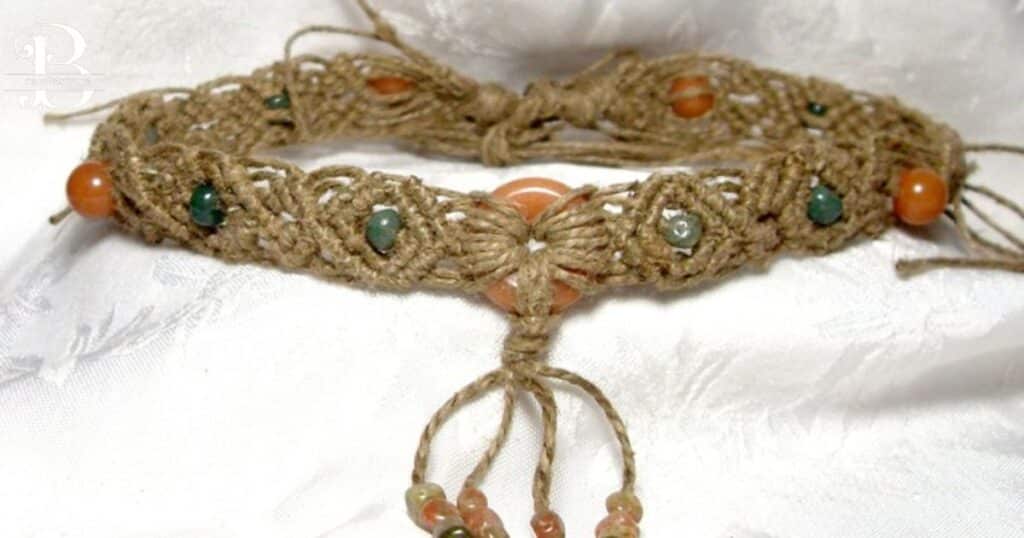
Hemp Knots (Spiral Knots)
Twisting and looping technique that adds a decorative spiral effect to hemp or similar materials.
Creates visually interesting and textured bracelets.
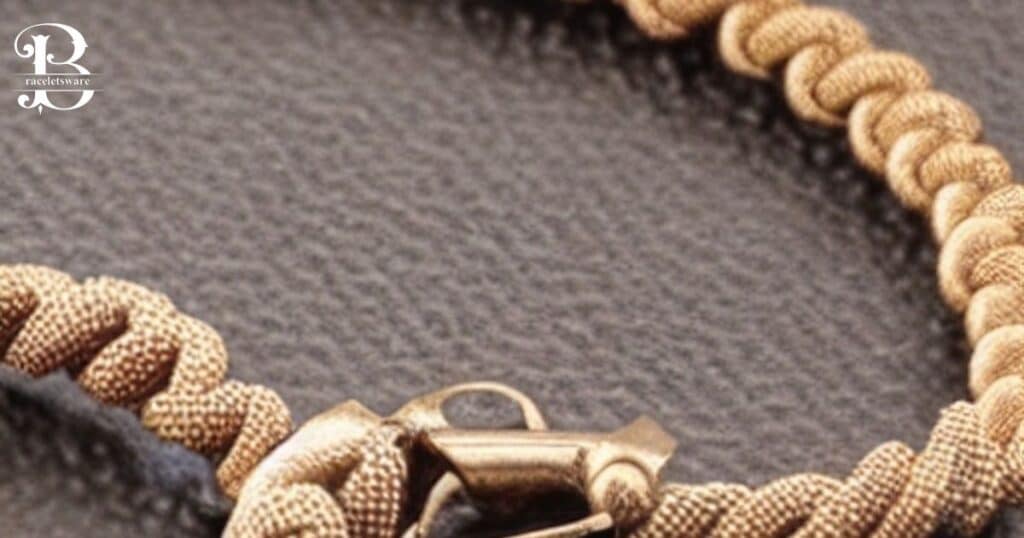
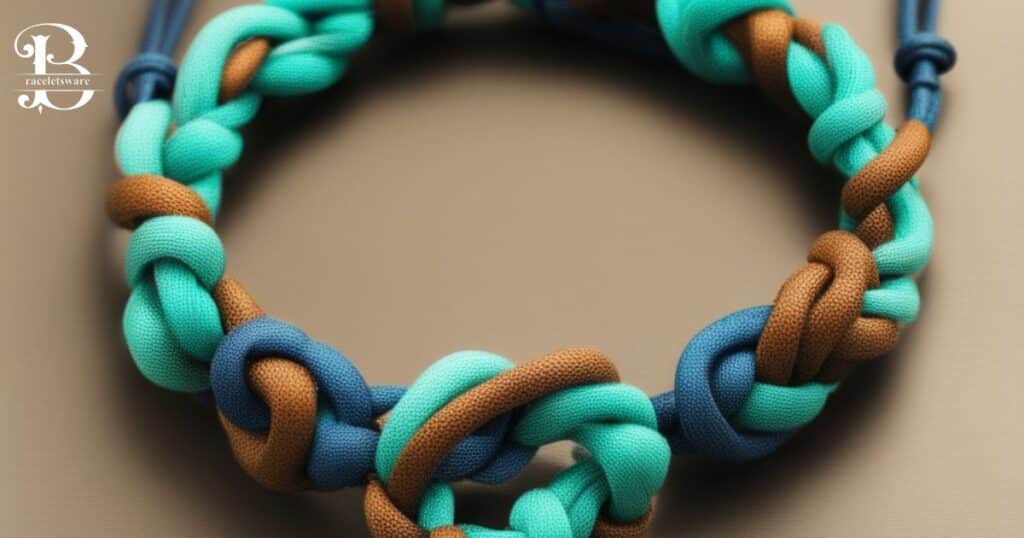
Snake Knot
A repeating knot pattern resembling the coils of a snake.
Adds a unique and intricate look to bracelets commonly used in paracord designs.
Remember the choice of knot can greatly influence the appearance and durability of your bracelet. Experimenting with different knot combinations can lead to diverse and personalized creations.
Materials Needed
The materials needed for bracelet knot making can vary based on the type of bracelet you want to create and the chosen knotting technique. However here is a general list of materials commonly used in bracelet knot crafting:
Cording or String:
Nylon cord, leather cord, hemp twine, cotton thread or other materials depending on your preference.
Choose the appropriate thickness and color for your desired bracelet.
Beads or Charms:
Optional decorative elements that can be incorporated into the bracelet knot design.
Beads can add color, texture and personalization to your creations.
Scissors:
Essential for cutting the cord to the desired length.
Ensure they are sharp for clean and precise cuts.
Clipboard or Tape:
Useful for securing one end of the bracelet knot while you work especially for more intricate designs.
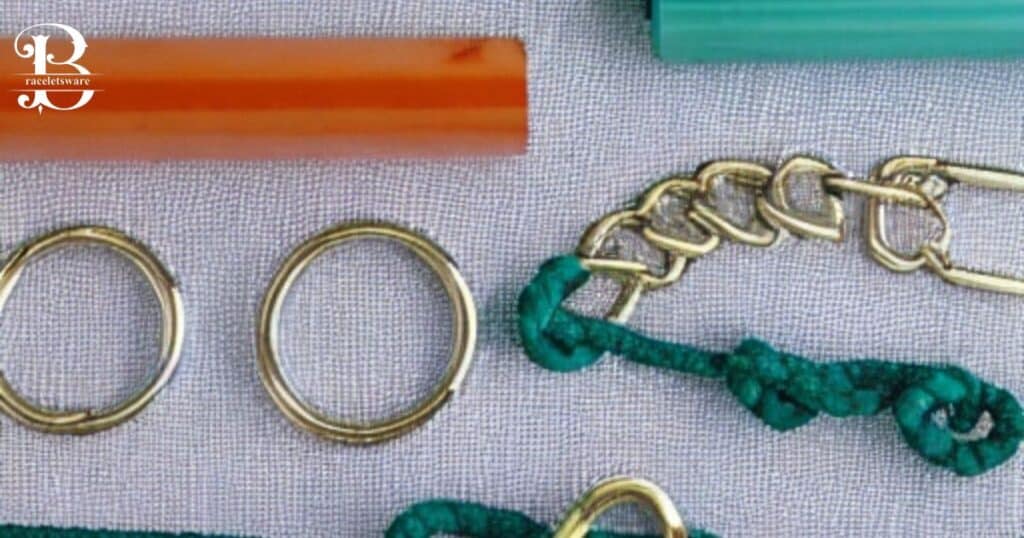
Closure Components:
Clasps, buttons or other closure mechanisms depending on the design.
For adjustable bracelets consider using a slider bead or a second knot for closure.
Ruler or Measuring Tape:
Helpful for measuring the desired length of the bracelet.
Ensures consistency in sizing for multiple bracelets.
Clipboard or Tape:
Useful for securing one end of the bracelet while you work especially for more intricate designs.
Bobby Pins or Safety Pins:
Can be used as temporary holders for beads or to keep the bracelet knot in place while working.
Lighter or Fray Check (optional):
Useful for sealing the ends of cords to prevent fraying.
Bead Mat or Tray (optional):
Provides a designated space for organizing beads and prevents them from rolling away.
Needle or Toothpick (optional):
Useful for guiding cords through tight spaces especially when working with small beads.
Bracelet Patterns
Bracelet knot patterns offer a delightful avenue for creativity and self-expression. Whether you’re a novice or an experienced crafter there’s a diverse range of patterns to explore. From the simplicity of a beaded bracelet where colors and sizes can be artfully combined to the intricate art of macramé employing various knotting techniques to weave beautiful designs.
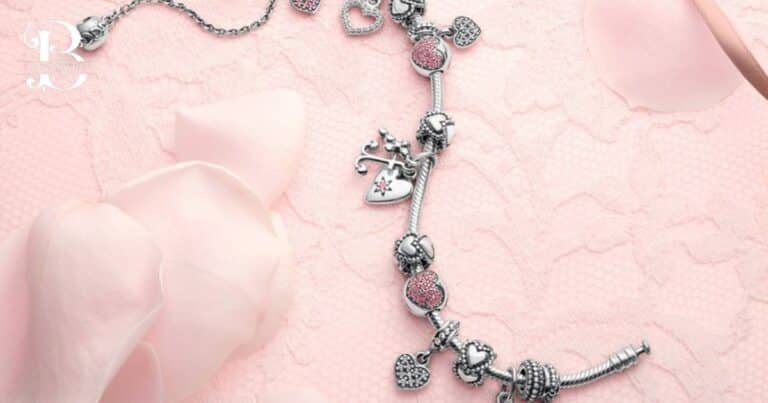
Friendship bracelets with their nostalgic charm use techniques like forward and backward knots to create patterns that signify camaraderie.Braided leather bracelets showcase a rustic elegance, while seed bead bracelets allow for detailed weaving using techniques like peyote or brick stitch. The versatility of wrap bracelets the sentimental allure of charm bracelets and the precision of kumihimo or wire wrapping techniques all contribute to a rich tapestry of possibilities.
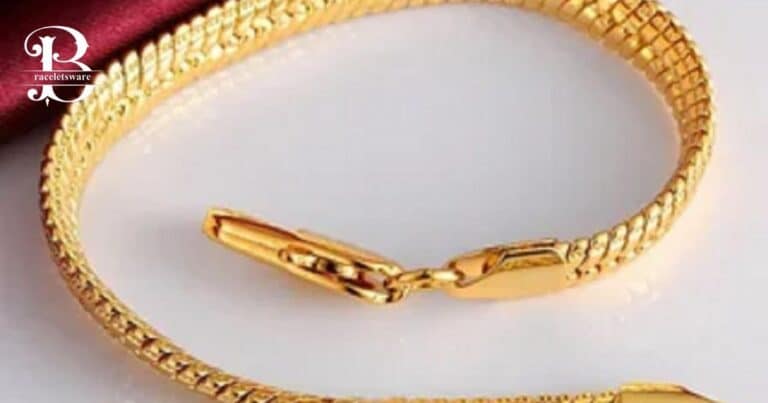
Gold chain bracelet introduce a touch of luxury and sophistication offering a sleek and timeless option amid the array of materials. Crochet bracelets add a soft touch with yarn or thread providing a canvas for diverse stitches and textures. Whatever the chosen pattern each bracelet knot becomes a unique reflection of the maker’s style making the world of bracelet crafting both exciting and endlessly customizable.
Simple Bracelet Pattern
Creating a simple beaded bracelet knot is an excellent introduction to the world of bracelet crafting. To embark on this easy yet charming project, gather stretch cord beads of your choice and a pair of scissors. Begin by measuring and cutting the stretch cord to your desired bracelet length securing one end with a knot. String your selected beads onto the cord allowing your creativity to guide the pattern.
Whether you opt for alternating colors or a symmetrical arrangement the possibilities are endless. Adjust the length as needed periodically checking against your wrist. Tie a secure knot at the other end and for added durability apply a dab of clear nail polish or glue before trimming any excess cord. In no time you’ll have crafted a personalized and stylish beaded bracelet perfect for both beginners and seasoned crafters alike. Enjoy the satisfaction of wearing your handmade creation or share it as a thoughtful handmade gift.
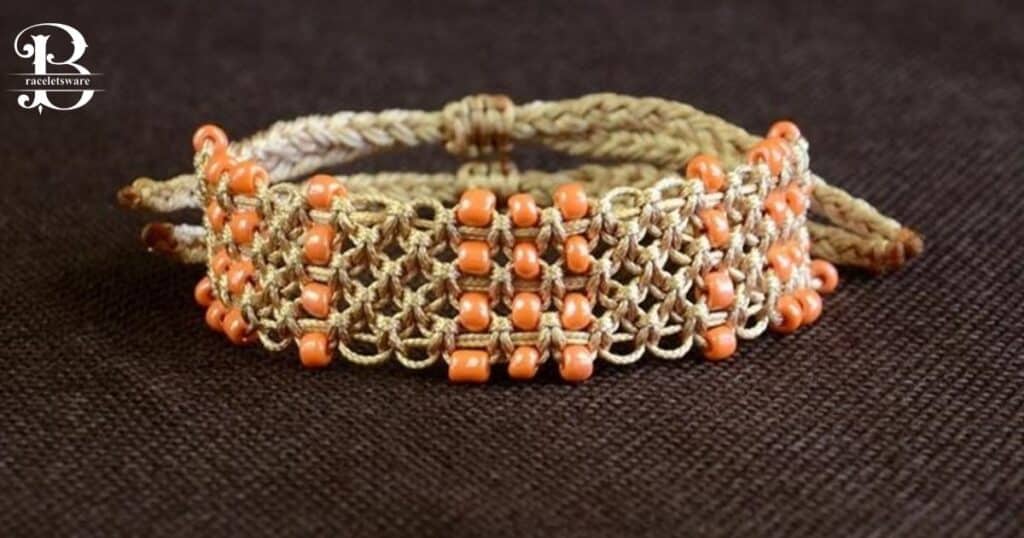
Intermediate Bracelet Pattern
Transitioning to an intermediate bracelet pattern opens up a realm of creative possibilities allowing you to delve into more intricate designs. One such pattern involves macrame a knotting technique that adds texture and detail to your bracelet. To embark on this intermediate project gather nylon cord, beads and a clipboard or tape for stability. Begin by securing the cord then experiment with square knots, half hitch knots and lark’s head knots to create engaging patterns.
Integrate beads strategically to enhance visual appeal. As your confidence grows consider incorporating more advanced techniques like alternating square knots or combining various cord colors. This intermediate macramé bracelet knot not only challenges your skills but also results in a beautifully textured accessory that showcases your evolving craftsmanship. Enjoy the journey of honing your knotting expertise and producing bracelets that reflect both skill and creativity.
Advanced Bracelet Pattern
Embarking on an advanced bracelet pattern is an exciting venture for experienced crafters seeking a challenge. One such intricate design involves the art of wire wrapping. This technique requires jewelry wire a variety of beads or gemstones and tools like pliers and wire cutters. Start by selecting your focal bead or gemstone and securing it with the wire. Employ advanced wire wrapping methods such as coiling, weaving or creating intricate patterns to embellish the bracelet.
Precision and attention to detail are paramount in this advanced craft allowing for the creation of stunning personalized pieces. As you master the art of wire wrapping you’ll unlock a world of creativity producing bracelets that are not just accessories but intricate works of wearable art. Embrace the challenge experiment with different wire gauges and bead combinations, and revel in the satisfaction of crafting sophisticated and unique bracelets that showcase your mastery of advanced techniques.
Troubleshooting Tips
While crafting bracelets encountering challenges is not uncommon but with a few troubleshooting tips you can navigate through potential issues. If you find your knots coming undone consider using a small amount of clear nail polish or glue to secure them. For tangled cords, patiently untangle them using a needle or toothpick.
If your bracelet knot turns out too short, you can add an extension chain or create a new section using additional cord. For beads not fitting onto the cord check the cord thickness against the bead hole size and if needed opt for thinner cord or larger beads. If the bracelet feels too tight choose a stretch cord with a larger diameter.
Embrace these troubleshooting techniques as part of the creative process, learning and adapting to ensure your bracelet knot making experience remains enjoyable and successful.
Creative Ideas
Unleashing your creativity in bracelet knot crafting opens up a world of possibilities. Consider combining various knotting techniques like macramé and traditional knots to form a unique and textured bracelet. Experiment with diverse materials such as leather, hemp or wire to add depth and character to your designs.
Incorporating charms, personalized pendants or even small trinkets can infuse sentimental value into your creations. Try using a range of bead sizes, colors and shapes to create intricate patterns or gradients. Mixing materials like beads and leather in a single bracelet can result in a striking contrast. Consider themed bracelets, such as nature-inspired or celestial designs, to tell a visual story.
The key is to let your imagination soar allowing each bracelet to be a canvas for your self expression. Embrace the joy of crafting by exploring new techniques, materials and themes and watch as your creative ideas transform into stunning wearable art.
Frequently Asked Questions
What is the simplest knot for tying bracelets?
The overhand knot is the most basic and straightforward knot for tying bracelets.
Which knot is popular in macramé bracelet patterns?
The square knot, also known as the reef knot is frequently used in macramé designs.
Can I mix different knotting techniques in a single bracelet?
Yes combining knots like square knots, overhand knots and slip knots can create unique and visually appealing designs.
Final Thoughts
Mastering the art of tying bracelet knots opens up a world of creative expression and personalization. Whether you’re a beginner learning the basics or an experienced crafter seeking intricate designs the process of knotting bracelets allows for endless possibilities. From the simplicity of an overhand knot to the complexity of macramé or wire wrapping techniques each knot contributes to the uniqueness of the final piece.
The choice of materials, beads and closure mechanisms adds further diversity to bracelet crafting. Troubleshooting tips become valuable allies in overcoming challenges ensuring a smooth and enjoyable crafting experience.
Ultimately tying bracelet knots is not just a skill it’s a form of wearable art that reflects individuality creativity and the joy of handmade craftsmanship. So dive into the world of bracelet making experiments with various knots and let your imagination shape beautiful and personalized accessories.

Amara Rosewood, with 8 years of expertise in bracelet design, is the creative force behind BraceletsWare. Her passion and skill converge in each piece, crafting timeless accessories that redefine style.