How To Make Friendship Bracelets?
Making friendship bracelets is simple Choose colorful threads learn basic knots and follow online tutorials. Share your handmade bracelets to strengthen bonds with friends.
Discover the art of making friendship bracelets and unlock the secrets to crafting beautiful personalized tokens of affection. Whether you’re a beginner or a seasoned DIY enthusiast our step by step guide will take you through the joyous process of weaving vibrant threads into wearable symbols of friendship. Join us in creating not just bracelets but lasting memories and meaningful bonds. Let’s weave together the magic of friendship one knot at a time.
Creating friendship bracelets is a delightful and easy craft that brings joy to both the maker and the recipient. To make friendship bracelets you simply need colorful threads basic knotting techniques and a dash of creativity.
Materials Needed
To embark on the delightful journey of making friendship bracelet you’ll need a handful of simple yet essential materials. First and foremost gather an array of colorful threads in your preferred hues allowing you to express your creativity through vibrant combinations.
A pair of sharp scissors will be indispensable for cutting the threads to the desired lengths ensuring precision in your bracelet making process. If you prefer a more organized approach consider using a clipboard or securing the threads with a safety pin.
Additionally for those seeking an extra touch of embellishment beads can be included to add a charming and personalized flair to your friendship bracelets. With these basic materials in hand you’re all set to bring your bracelet making vision to life.
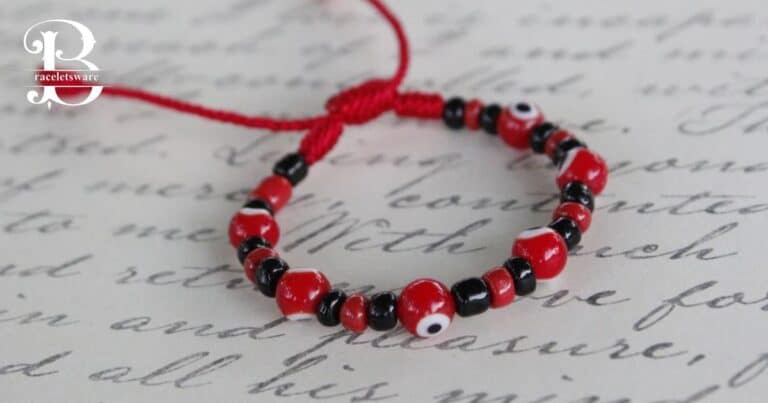
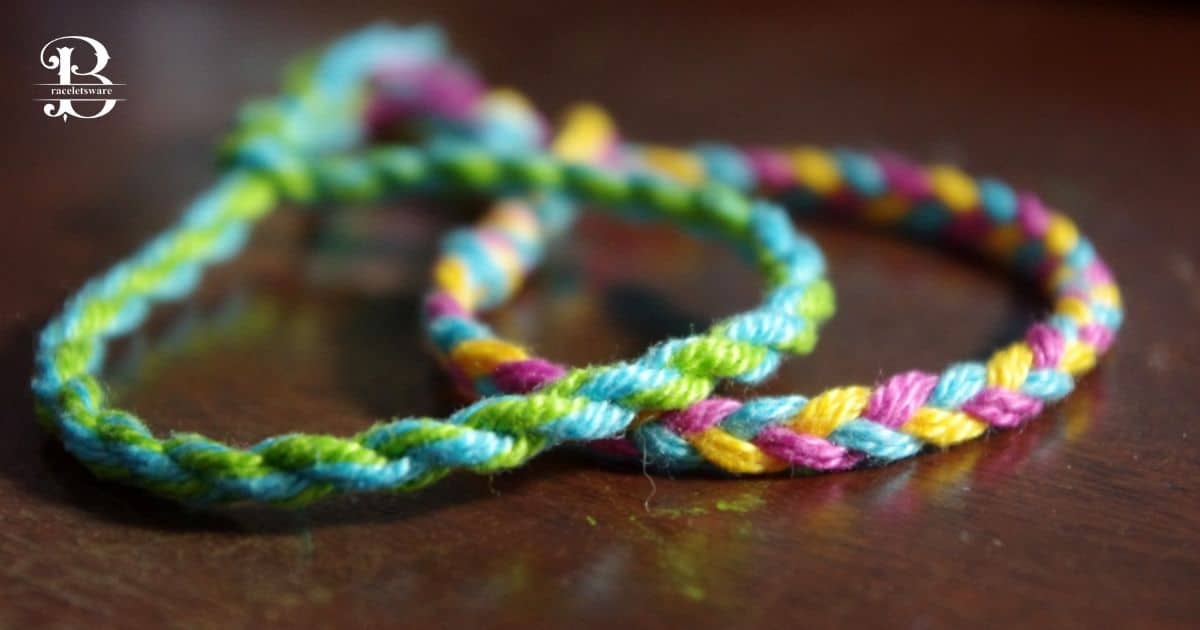
Colorful threads
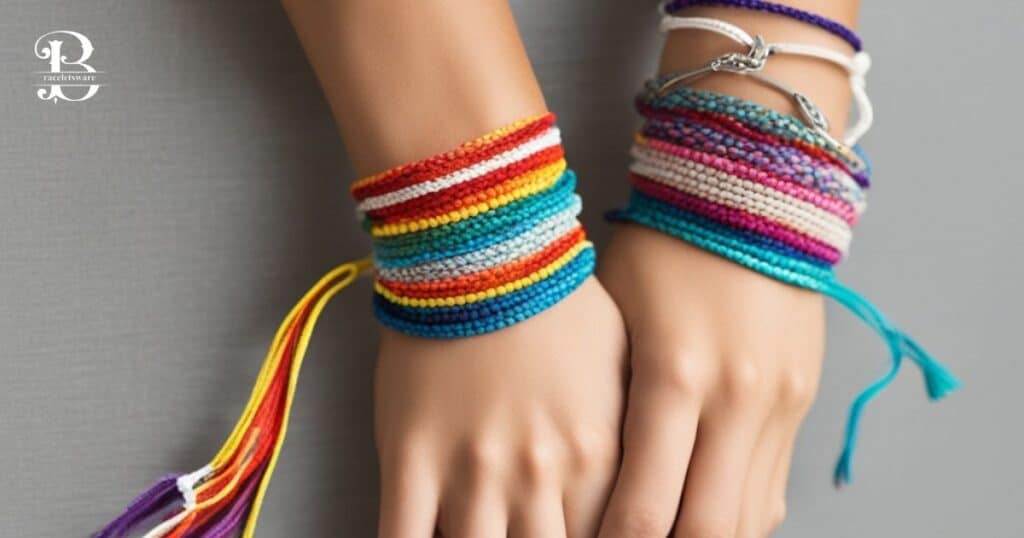
Colorful threads form the vibrant palette that breathes life into your friendship bracelet creations. The joy of making these bracelets lies in the spectrum of hues you choose to intertwine reflecting your personal style and the sentiments you wish to convey.
From rich blues to warm yellows and everything in between the selection of threads allows you to experiment with endless color combinations. Whether you opt for a rainbow of shades or a carefully curated color scheme the threads become the visual language of your friendship bracelets making each one a unique and expressive work of art.
So dive into the spectrum of possibilities and let the threads weave tales of camaraderie and creativity.
Scissors
As a fundamental tool in the art of crafting friendship bracelets a pair of sharp scissors plays a pivotal role in shaping your creative vision. Precision is key when it comes to cutting colorful threads to the desired lengths ensuring that each knot and weave contributes to the overall beauty of the bracelet.
A reliable pair of scissors not only aids in the practical aspects of the process but also allows you to refine the details and achieve a polished finish. Whether you’re a novice or an experienced bracelet maker having a quality pair of scissors on hand ensures that your creations are not only visually appealing but also meticulously crafted.
So, let your scissors be the instrument that helps you bring your friendship bracelets to life with accuracy and finesse.
Clipboard or safety pin (optional)
While not essential a clipboard or a trusty safety pin can prove to be valuable optional tools in the craft of making friendship bracelets. A clipboard offers a convenient way to secure your work, keeping the threads taut and preventing unnecessary tangling.
This optional accessory is particularly useful for those who appreciate a more organized and controlled braiding process. On the other hand a safety pin can serve as a makeshift anchor securing one end of your bracelet to your clothing or work surface. This provides a hands free solution allowing you to focus on perfecting your knots without the need to hold the bracelet in place constantly.
Whether you choose the stability of a clipboard or the flexibility of a safety pin these optional tools can enhance your bracelet making experience making it more enjoyable and efficient.
Beads (optional)
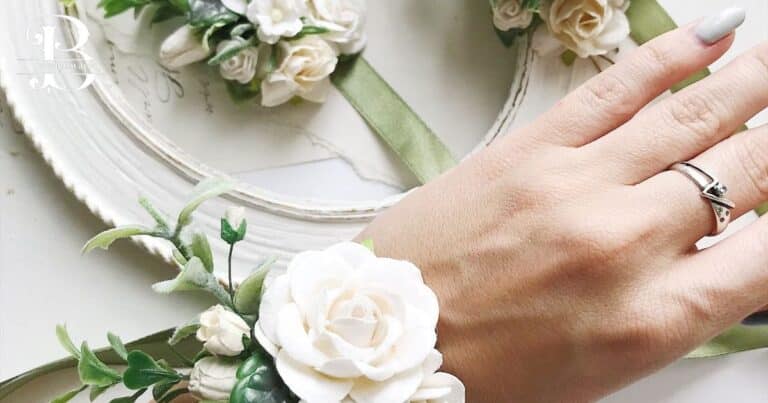
For those looking to elevate their friendship bracelet designs incorporating beads can add a delightful touch of charm and personalization. While entirely optional beads come in various shapes, sizes and colors providing endless possibilities for creativity.
You can intersperse them throughout your bracelet use them as a focal point or even spell out initials or messages with alphabet beads. The addition of beads not only enhances the visual appeal but also introduces a tactile element making your friendship bracelets uniquely textured.
Experimenting with beads allows you to tailor each bracelet to the recipient’s preferences or to symbolize specific memories making the optional inclusion of beads a small yet impactful detail in the world of friendship bracelet crafting.
Basic Knots
Mastering the basic knots is the foundation of creating beautiful friendship bracelets. These simple yet versatile knots form the backbone of various bracelet patterns. Here are the key knots you’ll need to know:
1. Forward Knot: The fundamental knot where one thread crosses over another creating a diagonal knot. This is often represented by the abbreviation “F” in tutorials.
2. Backward Knot: Similar to the forward knot but with the threads crossing in the opposite direction forming a backward diagonal knot. It’s commonly denoted as “B” in instructions.
3. Double Forward Knot: A variation of the forward knot where the thread wraps around twice before tightening, creating a thicker and more pronounced knot.
4. Double Backward Knot: Similar to the double forward knot but with the threads crossing in the opposite direction resulting in a bulkier knot.
These basic knots serve as the building blocks for countless friendship bracelet designs. As you become more familiar with these techniques you’ll be able to experiment with different combinations, creating intricate and personalized patterns.
Getting Started
Getting started with making friendship bracelets is a simple yet exciting process that opens the door to creativity and personal expression. Begin by selecting an array of vibrant threads allowing your imagination to dictate the color palette.
Consider the occasion or the recipient’s taste when choosing hues. Once you have your materials decide on a bracelet pattern or design that inspires you. Classic chevrons, spirals or more intricate patterns the choice is yours. Use sharp scissors to cut the threads to your preferred lengths and optionally secure them with a clipboard or safety pin to streamline the crafting process.
With your materials prepared and a design in mind you’re all set to embark on a journey of knotting, weaving and creating beautiful symbols of friendship. Enjoy the rhythmic process and the satisfaction of crafting a personalized accessory that holds sentimental value.
Step-by-Step Instructions
Follow these step by step instructions to embark on your journey of creating beautiful friendship bracelets:
1.Choose Your Pattern: Start by selecting a pattern or design for your friendship bracelet. Whether you opt for a classic chevron, diagonal stripes or a more intricate design having a clear pattern in mind will guide your knotting process.
2. Cutting Threads: Use sharp scissors to cut the threads according to your desired lengths. Consider the bracelet’s intended size and the pattern’s complexity. It’s a good idea to cut a bit more than you think you’ll need.
3. Organize Your Threads: Arrange the threads in the order you plan to use them ensuring they’re easily accessible as you work through your chosen pattern.
4. Securing Threads (Optional): If you’re using a clipboard or safety pin, secure one end of the threads to keep them in place. This helps maintain tension and prevents tangling as you weave the bracelet.
5. Start Knotting: Begin with the first set of threads according to your chosen pattern. Practice the basic knots forward, backward, double forward and double backward knots to create the desired weave.
6. Follow the Pattern: Continue knotting, following the pattern you’ve chosen. Take your time ensuring each knot is tight and well executed. Pay attention to the color placement for a visually appealing result.
7. Incorporate Beads (Optional): If you’ve chosen to add beads to your bracelet carefully thread them onto the appropriate strings as you follow the pattern. This step adds a personalized touch to your creation.
8. Continue Knotting: Repeat the knotting process until you reach the desired length of your bracelet. Regularly check your work to catch any mistakes and ensure a consistent pattern.
9. Finish the Bracelet: Once you’ve reached the desired length finish the bracelet with a knot that securely holds the threads together. Trim any excess thread leaving a neat and tidy finish.
10. Tie a Closure: Depending on your preference tie a secure knot or use a closure method (such as a loop and button) to fasten your bracelet around the wrist.
With these step by step instructions you’re wellequipped to create a beautiful friendship bracelet. Enjoy the process experiment with different patterns and most importantly have fun crafting a meaningful accessory to share with friends or loved ones.
Tips and Tricks
| Tips and Tricks | Description |
| Maintaining Tension | Keep the threads taut for a neater finish. Adjust tension consistently to prevent uneven patterns. |
| Fixing Mistakes | Learn how to undo knots and correct errors without unraveling the entire bracelet. |
| Customization | Personalize bracelets by adding initials, charms or unique features for a special touch. |
| Thread Organization | Keep threads organized and untangled to streamline the bracelet making process. |
| Experiment with Patterns | Don’t be afraid to try new patterns or combine elements from different designs for a unique look. |
| Adding Beads | If using beads, thread them carefully onto the appropriate strings considering placement in the pattern. |
| Consistent Knotting | Ensure uniformity in knot tightness throughout the bracelet for a polished and professional appearance. |
| Measure Bracelet Size | Consider the recipient’s wrist size when determining the bracelet’s length to ensure a comfortable fit. |
| Double-Check Pattern | Regularly refer to your chosen pattern to avoid mistakes and maintain the intended design. |
| Creativity and Fun | Embrace the creative process, and enjoy experimenting with different colors, patterns and techniques. |
| Sharing the Craft | Organize bracelet-making gatherings with friends to share tips, patterns and the joy of crafting together. |
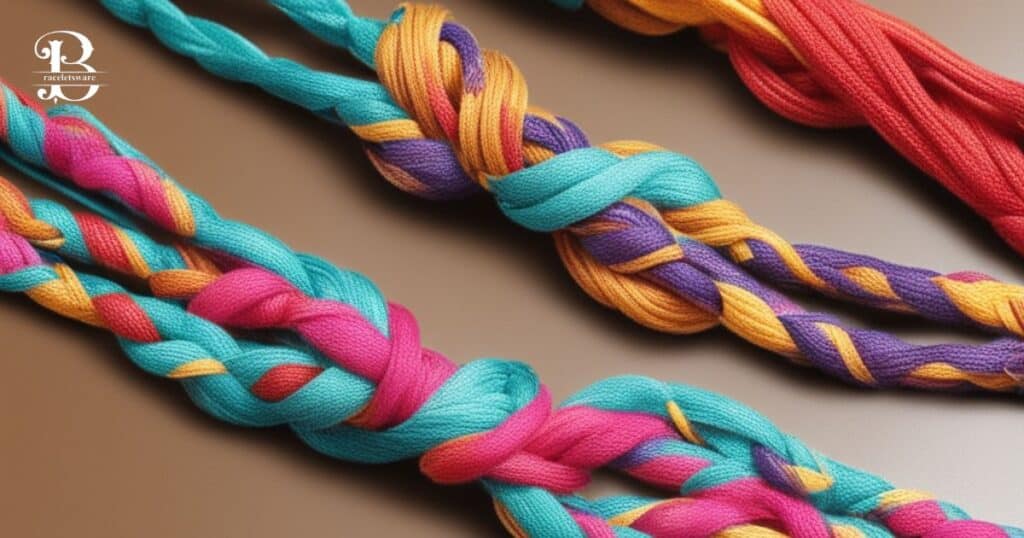
Inspiration and Design Ideas
Drawing inspiration from various sources and exploring different design ideas can elevate your friendship bracelet creations. Dive into the world of patterns from classic designs that have stood the test of time to trendy and modern twists.
Explore online tutorials, craft books and social media platforms to discover a myriad of weaving techniques and color combinations. Consider incorporating personal touches such as birthstone colors, initials or meaningful symbols to make each bracelet unique.
Take inspiration from nature, art or even your favorite memories to infuse a special sentiment into your designs. Don’t hesitate to experiment with unconventional materials or weaving styles for a truly one of a kind bracelet. The possibilities are limitless so let your imagination roam free and enjoy the process of bringing your creative visions to life through the art of friendship bracelet making.
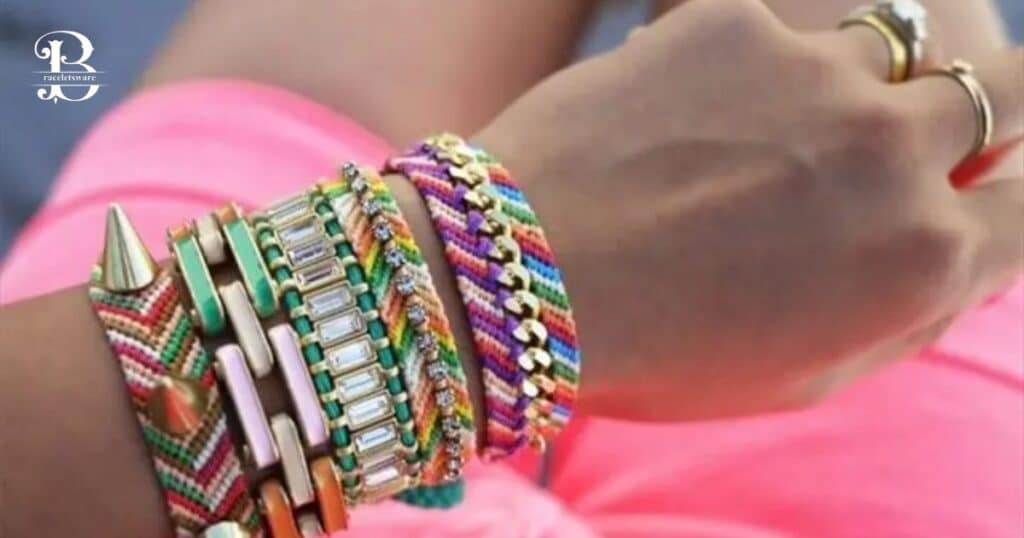
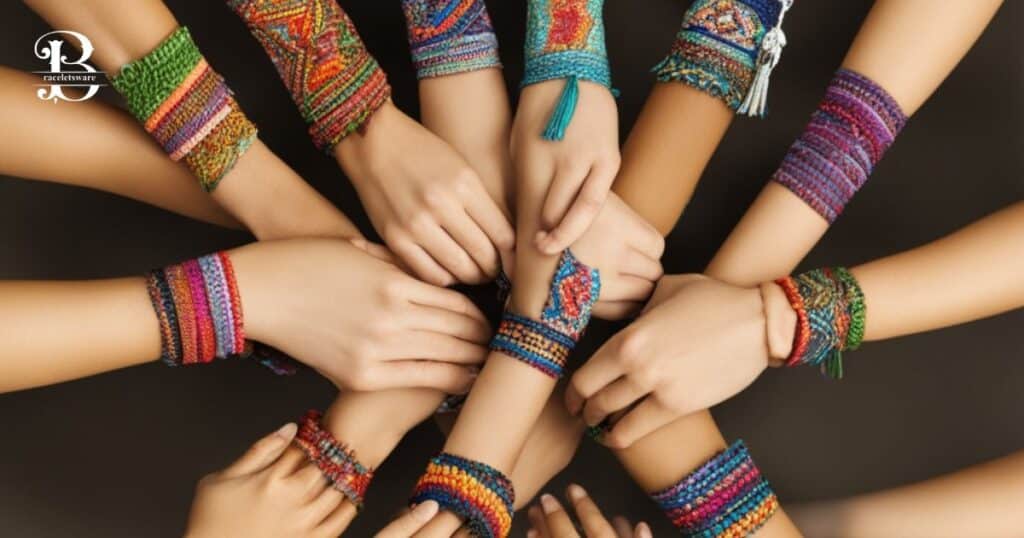
Gift Giving and Sharing
The art of making friendship bracelets extends beyond personal creativity it becomes a heartfelt gesture when shared with others. Crafting these charming tokens provides a wonderful opportunity for gift giving and sharing. Consider making a set of bracelets tailored to the preferences of your friends or loved ones reflecting their favorite colors or incorporating shared symbols.
Handmade friendship bracelets carry a unique sentimental value making them thoughtful and meaningful gifts for birthdays, special occasions or just to show appreciation. Organizing bracelet making sessions with friends adds an extra layer of joy as you exchange design ideas, share techniques and collectively create lasting memories.
Whether given as a solo surprise or crafted together with friends these handmade bracelets become tangible symbols of connection and care fostering the spirit of friendship in a beautifully crafted form.
Troubleshooting
Like any creative endeavor making friendship bracelets may encounter a few challenges along the way. With a bit of troubleshooting, you can overcome common issues and ensure a smooth crafting process. If threads become tangled take a patient approach to untangle them without causing damage. Adjusting bracelet size is manageable by adding or removing threads before securing the final knot.
Fixing uneven patterns requires careful review and correction of the knots. If you make a mistake don’t be discouraged learn to undo knots and rectify errors without unraveling the entire bracelet. If threads break consider tying them back together or incorporating the break into the design creatively.
Remember that each challenge is an opportunity to enhance your skills and make each bracelet uniquely yours. Approach troubleshooting with a positive mindset and you’ll find that overcoming these obstacles adds an extra layer of satisfaction to the craft of making friendship bracelets.
Frequently Asked Questions
How do I choose the right pattern for my bracelet?
Consider your skill level and preferences start with simple patterns and gradually explore more intricate designs.
Can I personalize bracelets with initials or beads?
Absolutely Adding initials or beads can add a special touch to your friendship bracelets.
What are the basic knots for making friendship bracelets?
Forward knot, backward knot, double forward knot and double backward knot.
Is a clipboard or safety pin necessary for bracelet making?
They are optional but can help maintain tension and prevent tangling.
Can I make friendship bracelets as gifts?
Yes handmade friendship bracelets make thoughtful and meaningful gifts.
Final Thoughts
The art of making friendship bracelets is not just a creative pastime it’s a journey of self expression, connection and meaningful gift giving. Armed with colorful threads, basic knots and a dash of creativity crafting these personalized tokens becomes a joyous endeavor.
From choosing patterns to troubleshooting and sharing the craft with friends every step is an opportunity to explore and create. Whether you’re a beginner or an experienced bracelet maker the process unfolds as a celebration of friendship, creativity and the joy of handmade treasures.
So gather your threads embrace the patterns and let the rhythmic knotting weave not just bracelets but lasting memories and bonds. May your friendship bracelets be vibrant reflections of creativity and shared moments encapsulating the essence of connection and camaraderie.

Amara Rosewood, with 8 years of expertise in bracelet design, is the creative force behind BraceletsWare. Her passion and skill converge in each piece, crafting timeless accessories that redefine style.