How To Make A Stretch Bracelet With Beads?
Making a stretch bracelet with beads involves stringing beads onto a stretchy cord to create a flexible and comfortable bracelet. Simply choose your desired beads thread them onto the stretch cord and tie a secure knot to complete the bracelet.
Discover the effortless art of crafting stunning stretch bracelets with beads. Unveil the secrets to creating custom jewelry without fuss or tools. Dive into a world where creativity knows no bounds as you string together your unique stretch bracelet masterpiece one bead at a time.How To Make A Stretch Bracelet With Beads?Create a personalized stretch bracelet by threading beads onto stretch cord securing with knots for a unique and stylish accessory.
Creating a stretch bracelet with beads is a simple and enjoyable DIY endeavor. Choose beads that resonate with your style thread them onto a stretch cord and secure the ends with tight knots. This crafting process encourages creative expression through various bead combinations. Once the knots are secured trim any excess cord and your personalized bracelet is ready to wear.
Materials Needed
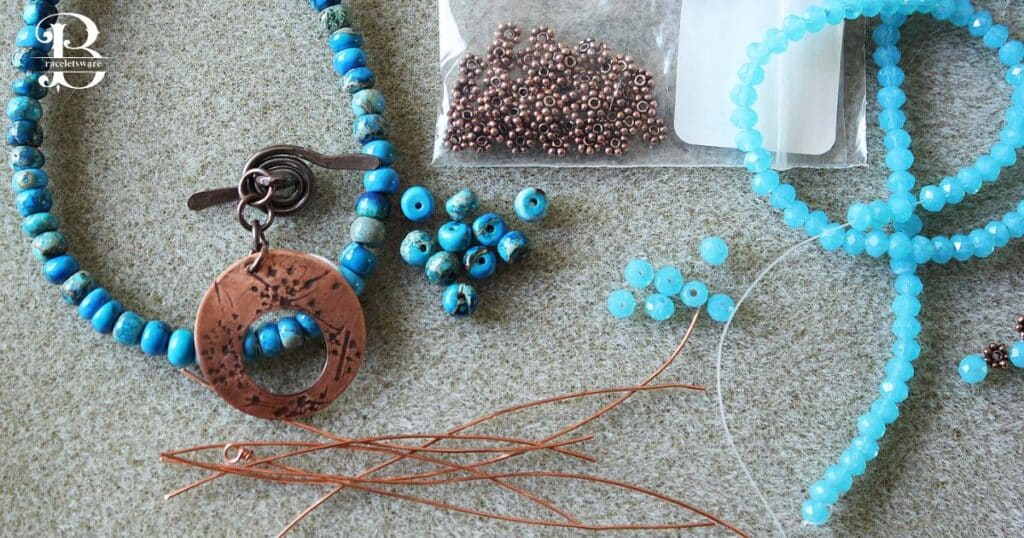
To enhance your bracelet making journey consider incorporating a delightful touch by crafting a flower bracelet. Begin by selecting a reliable stretch cord of sufficient length to comfortably encircle your wrist. Collect an array of beads including floral themed ones to align with your design preferences. Opt for varying colors, shapes and sizes to add a personalized and charming aspect to your creation.
As you secure the knots with the stretch cord imagine the beauty of a flower bracelet adorning your wrist adding a whimsical and nature inspired element to your unique piece. Don’t forget to have a pair of scissors on hand to trim the cord to your desired length and remove any excess ensuring your flower bracelet is both stylish and comfortable to wear. With these additional touches your bracelet making experience will blossom into a truly creative and enjoyable endeavor.
Choosing Beads
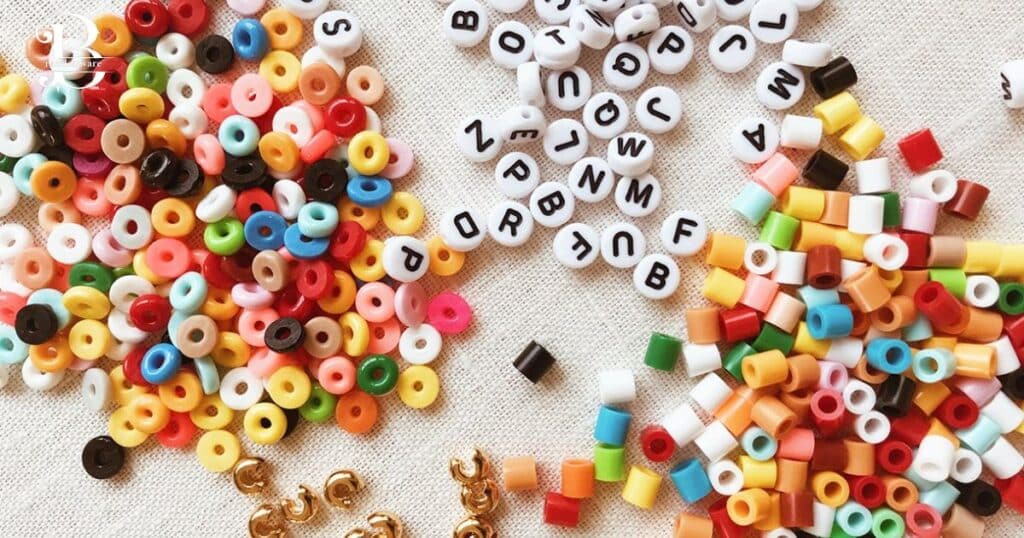
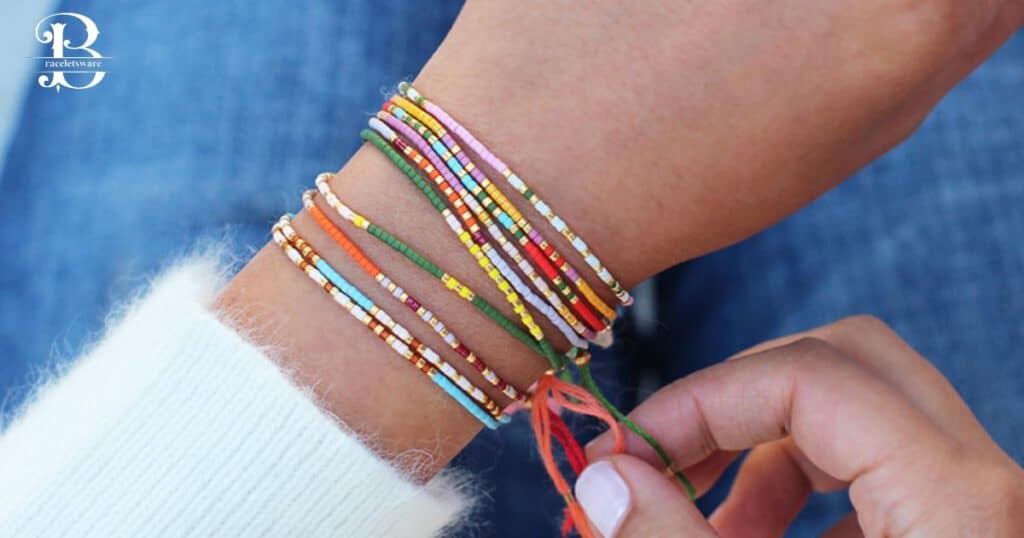
When it comes to choosing beads for your stretch bracelet the possibilities are as diverse as your personal style. Begin by considering the color palette you prefer whether it’s vibrant and bold or subtle and neutral. Explore beads of different shapes and sizes to add dimension and visual interest to your design. Mix and match materials such as glass, wood or gemstone beads to enhance texture.
Feel free to experiment with patterns or opt for a more eclectic random arrangement. Ultimately the key is to select beads that resonate with your taste allowing you to craft a bracelet that reflects your unique personality and flair.
Preparing the Cord
Preparing the cord is a crucial step in creating a durable and comfortable stretch bracelet. Here’s a detailed paragraph on how to prepare the cord:
To begin crafting your stretch bracelet start by preparing the stretch cord which serves as the foundation for your design. Measure the desired length of the bracelet by wrapping the cord around your wrist taking into account the elasticity of the cord and allowing for a comfortable fit.
Once you have determined the appropriate length use a sharp pair of scissors to make a clean cut. It’s advisable to add a few extra inches to account for knot tying and any potential adjustments. Choosing the right stretch cord is essential opt for a high quality elastic cord with adequate flexibility to withstand the tension from stretching and to ensure the longevity of your bracelet.
Keep in mind that different bead sizes may require varying cord thicknesses. If working with smaller beads consider using a beading needle to assist in stringing them onto the cord smoothly. By preparing the cord thoughtfully you set the foundation for a well crafted and comfortable stretch bracelet that will retain its shape over time.
Stringing Beads
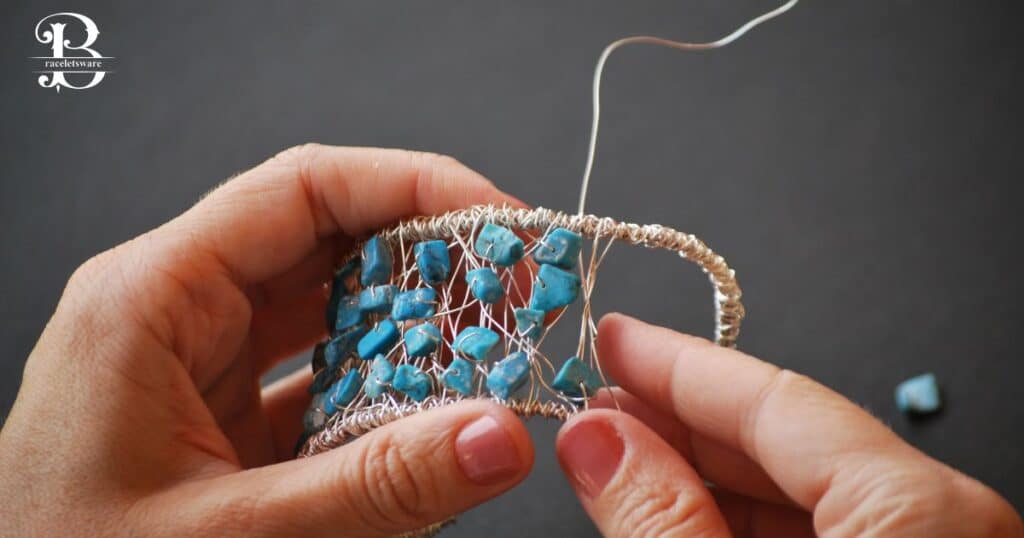
Stringing beads is a fundamental step in creating a stretch bracelet and it involves carefully arranging and threading the chosen beads onto the prepared stretch cord. Here’s a detailed paragraph on how to string beads:
With the stretch cord prepared the next step in crafting your stretch bracelet is stringing the beads onto the cord. Begin by selecting the beads you want to use considering their size, shape and color to create the desired pattern or design. If you have a specific arrangement in mind lay out the beads in the intended order before stringing them.
To facilitate the process you can use a beading needle especially when working with smaller beads. Insert the needle through the center of each bead and slide it onto the stretch cord. If you’re not using a needle carefully thread each bead onto the cord by pinching the cord against the bead hole and guiding it through. Take your time to ensure that the beads are securely strung and maintain the chosen pattern as you progress.
Periodically check the length against your wrist to gauge the fit and make any necessary adjustments to the bead arrangement. This phase of the process allows for creative expression as you experiment with different combinations of beads to achieve a visually appealing and personalized design. Once all the beads are strung you’re ready to move on to the next step in the bracelet-making process.
Securing the Bracelet
Securing the bracelet involves tying knots on the stretch cord to keep the beads in place and ensure the longevity of the jewelry piece. Here’s a detailed paragraph on how to secure the bracelet:
After stringing the beads onto the stretch cord, the next crucial step in crafting your stretch bracelet is securing the design with well tied knots. Begin by leaving a small tail of stretch cord ensuring there’s ample room for making knots without interfering with the bead arrangement.
The most common knot used for this purpose is the overhand knot. Simply bring both ends of the stretch cord together and tie a tight overhand knot ensuring that the beads are snugly positioned against the knot. For added security consider tying a double knot by repeating the process. Be mindful not to overtighten as excessive tension could lead to breakage. Once the knots are tied gently tug on the cord to check the tightness and stability of the bracelet.
If satisfied, trim any excess cord close to the knot leaving a small tail for added security. Properly securing the bracelet not only keeps the beads in place but also contributes to the overall durability and wearability of the finished piece. Take your time with this step to ensure a well crafted and reliable stretch bracelet that will withstand daily use.
Final Touches
Completing the stretch bracelet involves attending to the final touches adding a polished and professional look to your handmade creation. After securing the beads with knots, take a moment to inspect the bracelet for any loose or misaligned beads. Gently adjust the positioning to achieve symmetry and balance in your design. If you’ve chosen to incorporate a clasp or closure now is the time to add it for a more finished appearance.
Select a suitable closure based on your design preferences whether it’s a lobster clasp, toggle clasp or magnetic closure. Attach the closure securely to the ends of the stretch cord ensuring a snug fit. Double check the overall length and fit on your wrist before finalizing the closure. If you prefer a seamless look you can forgo a clasp and create a continuous loop by tying additional knots or using a hidden knotting technique.
Lastly inspect the bracelet for any excess cord and trim it close to the knots or closure for a neat and professional finish. These final touches contribute to the overall aesthetics and wearability of your stretch bracelet transforming it into a well crafted and visually pleasing accessory.
Optional Additions
While the basic steps outlined above provide a foundation for creating a stretch bracelet with beads there are optional additions and advanced techniques that you can explore to enhance the design and add a personal touch to your creation. One optional addition is the use of spacer beads to introduce variety and spacing between the main beads contributing to a more intricate and detailed look.
Additionally you can experiment with mixing different bead shapes and sizes within the same bracelet to create a visually dynamic and textured piece. For those seeking an extra level of customization consider incorporating charms, pendants or personalized tags into the design. These elements can add sentimental value and make the bracelet uniquely yours. If you enjoy a challenge explore more advanced knotting techniques or try using multiple strands of stretch cord for a layered effect.
Beading enthusiasts can also experiment with different stringing patterns or incorporate additional materials like leather or silk alongside the beads. Remember that the beauty of creating stretch bracelets lies in the opportunity for personal expression so feel free to experiment with these optional additions to make your bracelet truly one of a kind.
Frequently Asked Questions
Should I use a clasp for my stretch bracelet?
A clasp can provide a polished look but some prefer a continuous loop without a clasp.
Can I mix different bead sizes in one bracelet?
Yes mixing bead sizes can create visual interest and texture in your design.
Do I need a beading needle for stringing beads?
It’s optional but a beading needle can be helpful especially when working with smaller beads.
Final Thoughts
Crafting a stretch bracelet with beads is a rewarding and creative endeavor that allows you to express your unique style. By following the outlined steps from selecting the right beads and preparing the stretch cord to stringing the beads and securing the bracelet with well tied knots you can create a personalized accessory that reflects your taste and preferences.
The optional additions such as spacer beads, charms and different knotting techniques provide opportunities for experimentation and further customization. Remember that the beauty of making stretch bracelets lies not only in the final product but also in the process of exploration and self expression. As you embark on this crafting journey feel free to let your creativity shine and don’t hesitate to try new ideas to make each bracelet a truly distinctive and meaningful piece of jewelry.
Whether crafting for personal enjoyment or as a thoughtful gift the skills you develop in bracelet making can lead to a satisfying and fulfilling hobby. Enjoy the journey of creating beautiful handcrafted stretch bracelets that can be cherished for years to come.

Amara Rosewood, with 8 years of expertise in bracelet design, is the creative force behind BraceletsWare. Her passion and skill converge in each piece, crafting timeless accessories that redefine style.